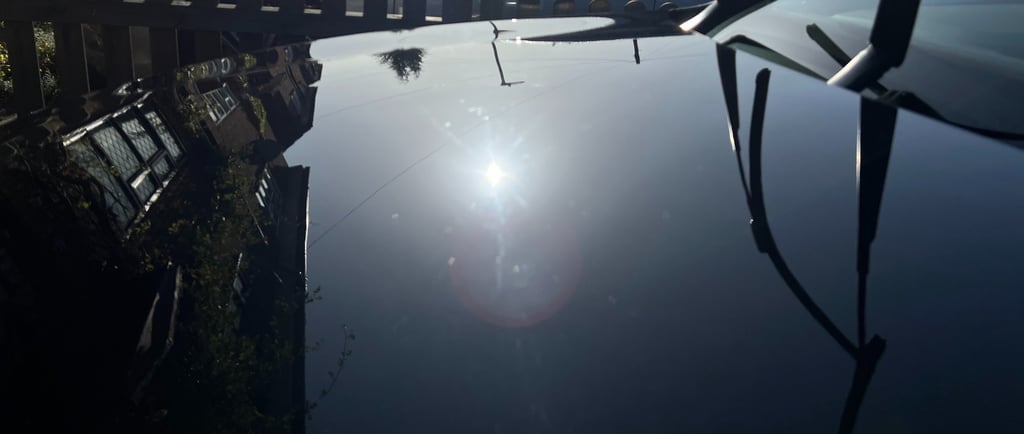
Precision in Paintwork
A Professional’s Guide to Advanced Car Polishing
7/19/20253 min read


1. Introduction – Polishing as Paint Correction, Not Cosmetic Vanity
For professional detailers, polishing is not about gloss—it’s about correction. This phase goes beyond aesthetics, functioning as a controlled abrasion process to eliminate surface defects, refine the paint structure, and restore optical clarity. Done correctly, polishing bridges the gap between preparation and protection, forming the foundation for any long-term coating system.
Polishing isn't just a tool—it’s a technique that demands product awareness, substrate familiarity, and process discipline.
2. Understanding the Purpose – What Does Polishing Really Do?
Polishing removes microscopic layers of the clear coat to level out imperfections such as:
Swirl marks
RIDS (Random Isolated Deep Scratches)
Oxidation
Etching (from bird droppings, water spots, etc.)
By evening out the surface on a microscopic level, light reflects uniformly, restoring true clarity. A professional knows that it's not about adding shine—it's about revealing it by removing what obstructs it.
3. Mechanical Abrasion – The Science of Paint Correction
At its core, polishing is controlled paint removal. Abrasive particles—often aluminum oxide or diminishing compounds—microscopically level the clear coat.
Professionals tailor abrasive loads, particle size, and cut rate based on:
Paint hardness (ceramic vs. softer lacquers)
Type of defect
OEM vs. refinished paint
Understanding the abrasive behavior over time (diminishing vs. non-diminishing) determines whether to extend working time or adjust pad-machine-pressure combinations.
4. Polish Types – Cutting, Medium, Finishing
Polishes are categorized by cut and clarity finish. A multi-stage approach is often required:
Heavy Cut Compound – Used with wool or aggressive foam pads to remove sanding marks and deep defects.
Medium Polish – Balances defect removal with refining capability; ideal for one-step corrections on medium hardness paints.
Finishing Polish – Designed to enhance clarity and prepare paint for protection layers like waxes, sealants, or ceramics.
Each formulation requires optimal machine speeds, pad material, and working window based on environmental conditions.
5. Machine Choice – Rotary vs. DA vs. Gear-Driven
Machine selection is dictated by project scope and paint type:
Rotary Polishers: Ideal for heavy correction. Generates heat and requires experience to avoid holograms.
Dual Action (DA): Orbital motion minimizes heat and risk, making it ideal for refining or beginner-level corrections.
Forced Rotation Gear-Driven DA: Combines the cut of a rotary with DA safety. Favoured for consistent correction on hard clears.
Professionals frequently rotate between machines within a multi-stage process for panel-specific demands.
6. Pad Selection – Material, Density, Cut Profile
Polishing pads are a variable too often underestimated. The combination of:
Foam density
Cell structure
Material (wool, microfibre, hybrid)
Edge cut profile
...all influence finish, heat buildup, and working time. For example:
Wool Pads: Aggressive defect removal with rapid heat buildup—used in initial stages.
Foam Pads: Vary from open-cell (cutting) to closed-cell (finishing) for clarity and control.
Microfibre Pads: High-speed defect removal, especially when paired with diminishing abrasives.
7. Surface Temperature & Environment Control
Paint temperature and ambient climate dramatically affect polish behavior:
Too cold: product fails to break down or bond
Too hot: polish flashes prematurely, risking holograms
Ideally, polish between 15°C–25°C in a dust-free, shaded or indoor environment. IR temperature guns ensure the panel is within safe thermal limits post-compound.
8. Panel Wipe and Inspection – Evaluating True Correction
After each polishing stage, use a solvent-based panel wipe (e.g., isopropyl alcohol or degreaser diluted to spec) to remove polishing oils and fillers. This ensures:
Honest visibility of remaining defects
Accurate paint condition evaluation
No interference with coating bonding (if applying ceramic or sealant)
Lighting must be neutral or mimic sunlight—6500K LED inspection lights or high-lumen handheld torches are ideal.
9. Common Pitfalls Even Pros Encounter
Over-polishing: Removing too much clear coat without measuring with PTG.
Filler Reliance: Using polish that masks defects rather than correcting them.
Pad Saturation: Failing to clean or replace pads leads to marring and product caking.
Polishing should be iterative—checking progress often avoids irreversible damage.
10. Post-Polish Protection – Locking In the Finish
Once clarity and correction are complete, protect the surface immediately:
Wax or Sealant for temporary gloss and water repellency
Ceramic Coating for long-term chemical and abrasion resistance
PPF (Paint Protection Film) as an optional next step on high-impact zones
Timing is critical—apply protection before re-contamination sets in.
